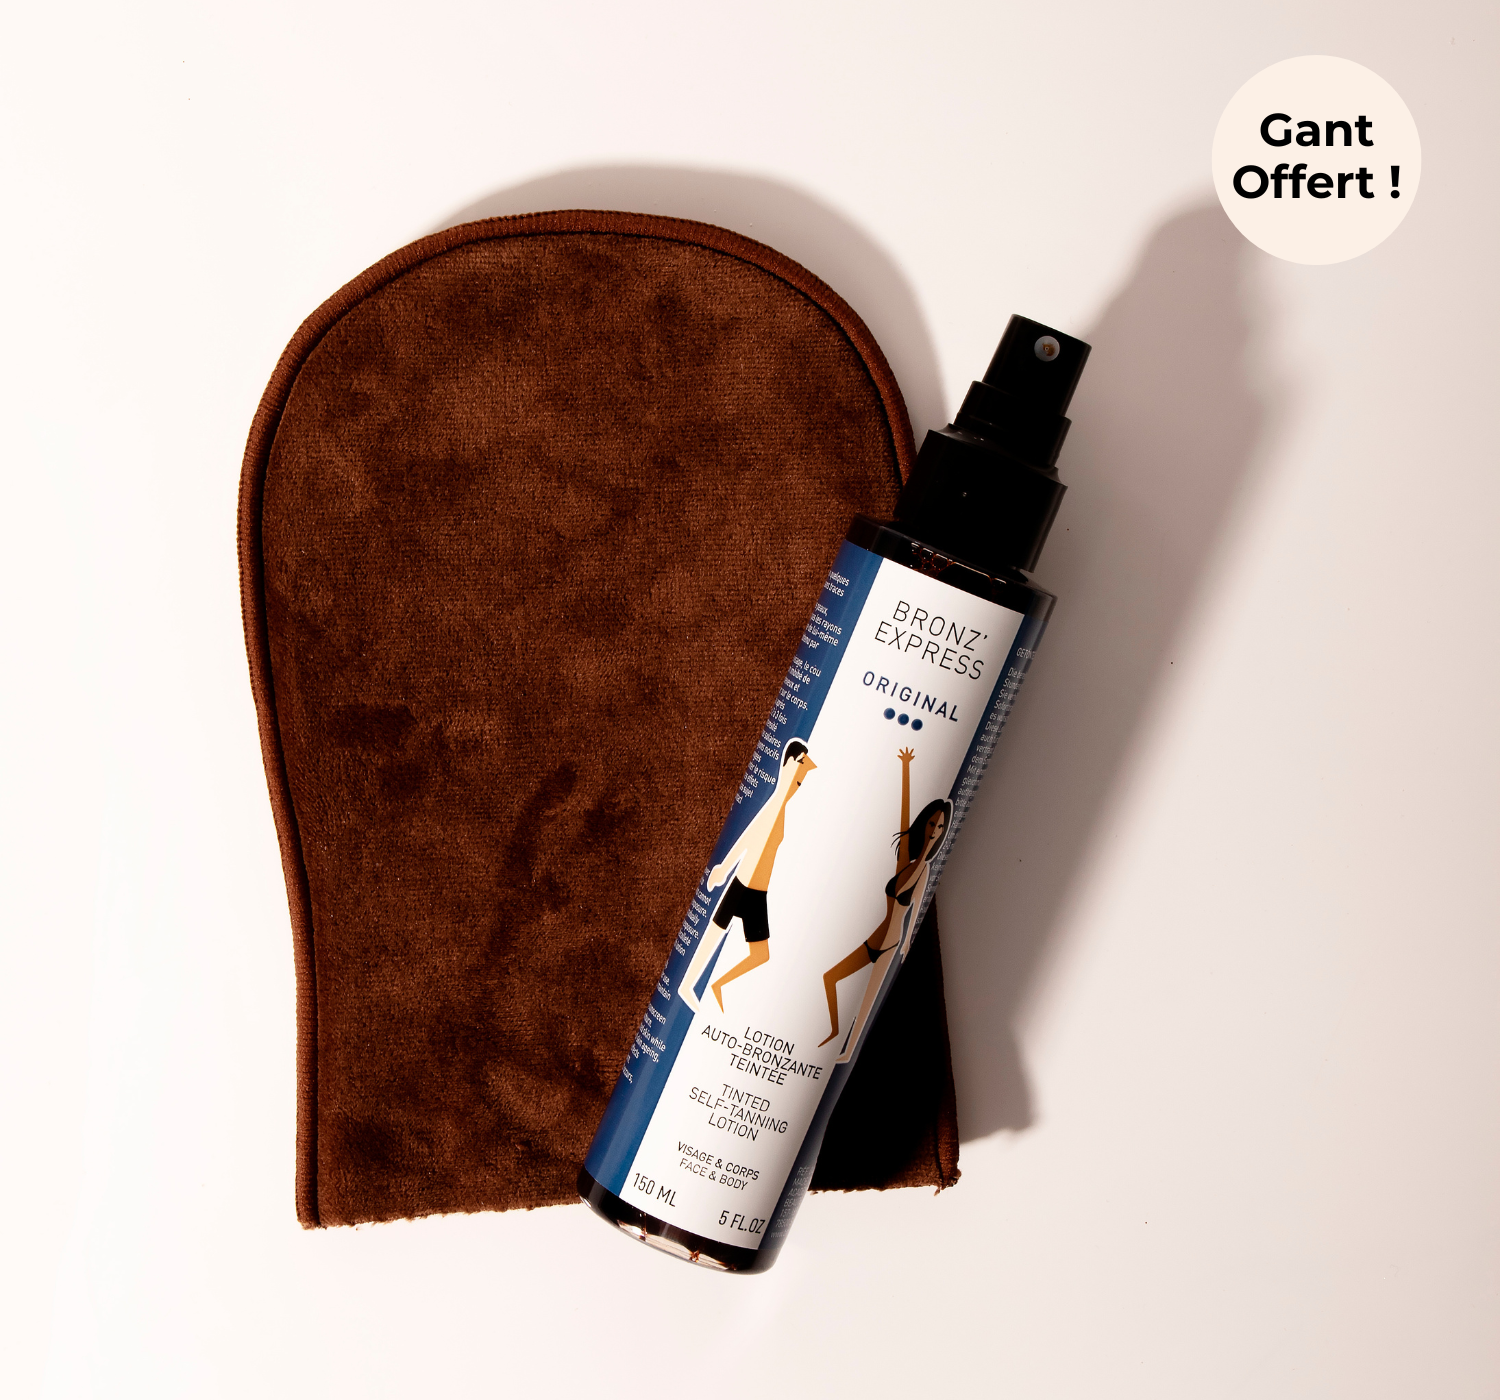
The fear of an overly artificial result or unsightly traces is often a hindrance to starting to use a self-tanner. Thanks to our pro tips (and our little tricks) to apply a self-tanner without missteps, you will considerably limit the risk of small misses and obtain an impeccable result.
Before you start
Before applying your self-tanner, remember to exfoliate and moisturize your skin. If possible, make your skin clear by waxing because the softer the skin and the clearer of its impurities, the more you will avoid unsightly marks.
Also apply the cream to your hands, paying particular attention to your nails and cuticles to prevent them from staining.
How to properly apply self-tanner?
Before applying your self-tanner, dry your skin thoroughly, especially if you've just gotten out of the shower.
To apply a liquid self-tanner like Tinted Self-Tanning Lotion , or in foam like the Tinted Self-Tanning Foam , we advise you to use the Self-Tanning Applicator Glove which will facilitate application on your body. Insist well on rough areas such as elbows and knees.
Pour a little lotion or foam on your glove, soak it well and apply it all over your body. Start from the least visible area, to the most visible area, always with circular movements. To make sure you don't forget any areas, proceed methodically by putting self-tanner back on your applicator mitt for each area.
Step 1 - Legs
Start at the bottom of your legs, from the top of the half-leg to the foot, remembering to go well between the toes. Then, apply to the side of the foot and the heel. Then go up on the calf and not forgetting the popliteal fossa (behind the knee) and insisting on the knee.
Then, apply from the top of your thigh to the knee and on the back of the thigh going up to the buttocks.
Then do the same on the other leg.
Step 2 - Belly
Always by circular movements, apply on the whole of the belly by passing well around the navel and on the hips. Then move up to the sides and lower back.
Step 3 - The neckline
Nothing prettier than a pretty tanned neckline!
Pass on the sides of the chest with enveloping movements, then go up on the neckline, the neck and the trapezius muscles.
Step 4 - Arms
For the arms, nothing could be simpler. Apply the self-tanner in circular movements, not omitting the crook of the elbow and the elbow. Then go back up to the shoulder and shoulder blade.
Don't forget to apply self-tanner on your hands and between your fingers, otherwise you will have a demarcation that will not have the prettiest effect. Do the same for the other arm.
Step 5 - The back
Normally, with step 2, you have already worked on the lower back, but you can completely start over if you think you haven't insisted enough on this part.
The real challenge is to reach the middle of the back: this part is the most "touchy". You'll need to be a little flexible (or ask a good soul for help).
Don't panic, the Self-Tanning Applicator Glove will make it easier for you to apply to this area. Always by circular movements, continue by the shoulders while going down again as low as possible to cover all this zone.
Step 6 - The Face
Finally, apply the self-tanner to the face. If you are not comfortable with the applicator mitt, you can pour a little self-tanner on a cotton pad.
You can also use the Magic Radiance Drops: the intelligent and tailor-made self-tanner that allows you to choose the intensity of your fake tan. Mix a few drops with your day cream, then apply with light movements. Do not forget these areas which are essential for a perfectly uniform and natural result: the neck, the nape of the neck, the ears (back and pavilion) and the hairline.
After application, do not rush
Sit down for a few minutes to let the self-tanner dry well, avoiding too many movements (bending your arms or legs) which could leave marks. Also remember to wash your hands in cold water.


 Revitalizing EssenceA sensory ritual to revitalize the body and mind
 Tinted Self-Tanning MousseTake advantage of an exceptional discount before it disappears!
 Body Lotion With Collagen From The SeaHydrate your body even in winter
 Tinted Concealer Eye ContourBrighten up your eyes
 Duo Tinted Self-Tanning Lotion + Applicator GloveTan without the sun!


